One of the most important steps in the mixing process is Equalization. This is where you're going to trim the fat from your sounds and eliminate frequencies that are displeasing to the ears. Not only will this allow for more headroom in your mix, it also allows you to sit elements where you want them in the song.
Often times producers will battle with a sound they like, turning it up and down trying to find a sweetspot when overall GAIN of the sound isn't the issue. The real trouble is coming from a few resonating frequencies that are already too loud, preventing the sound from sitting at the proper gain in the mix. You can resolve these issues easily by Notch Filtering.
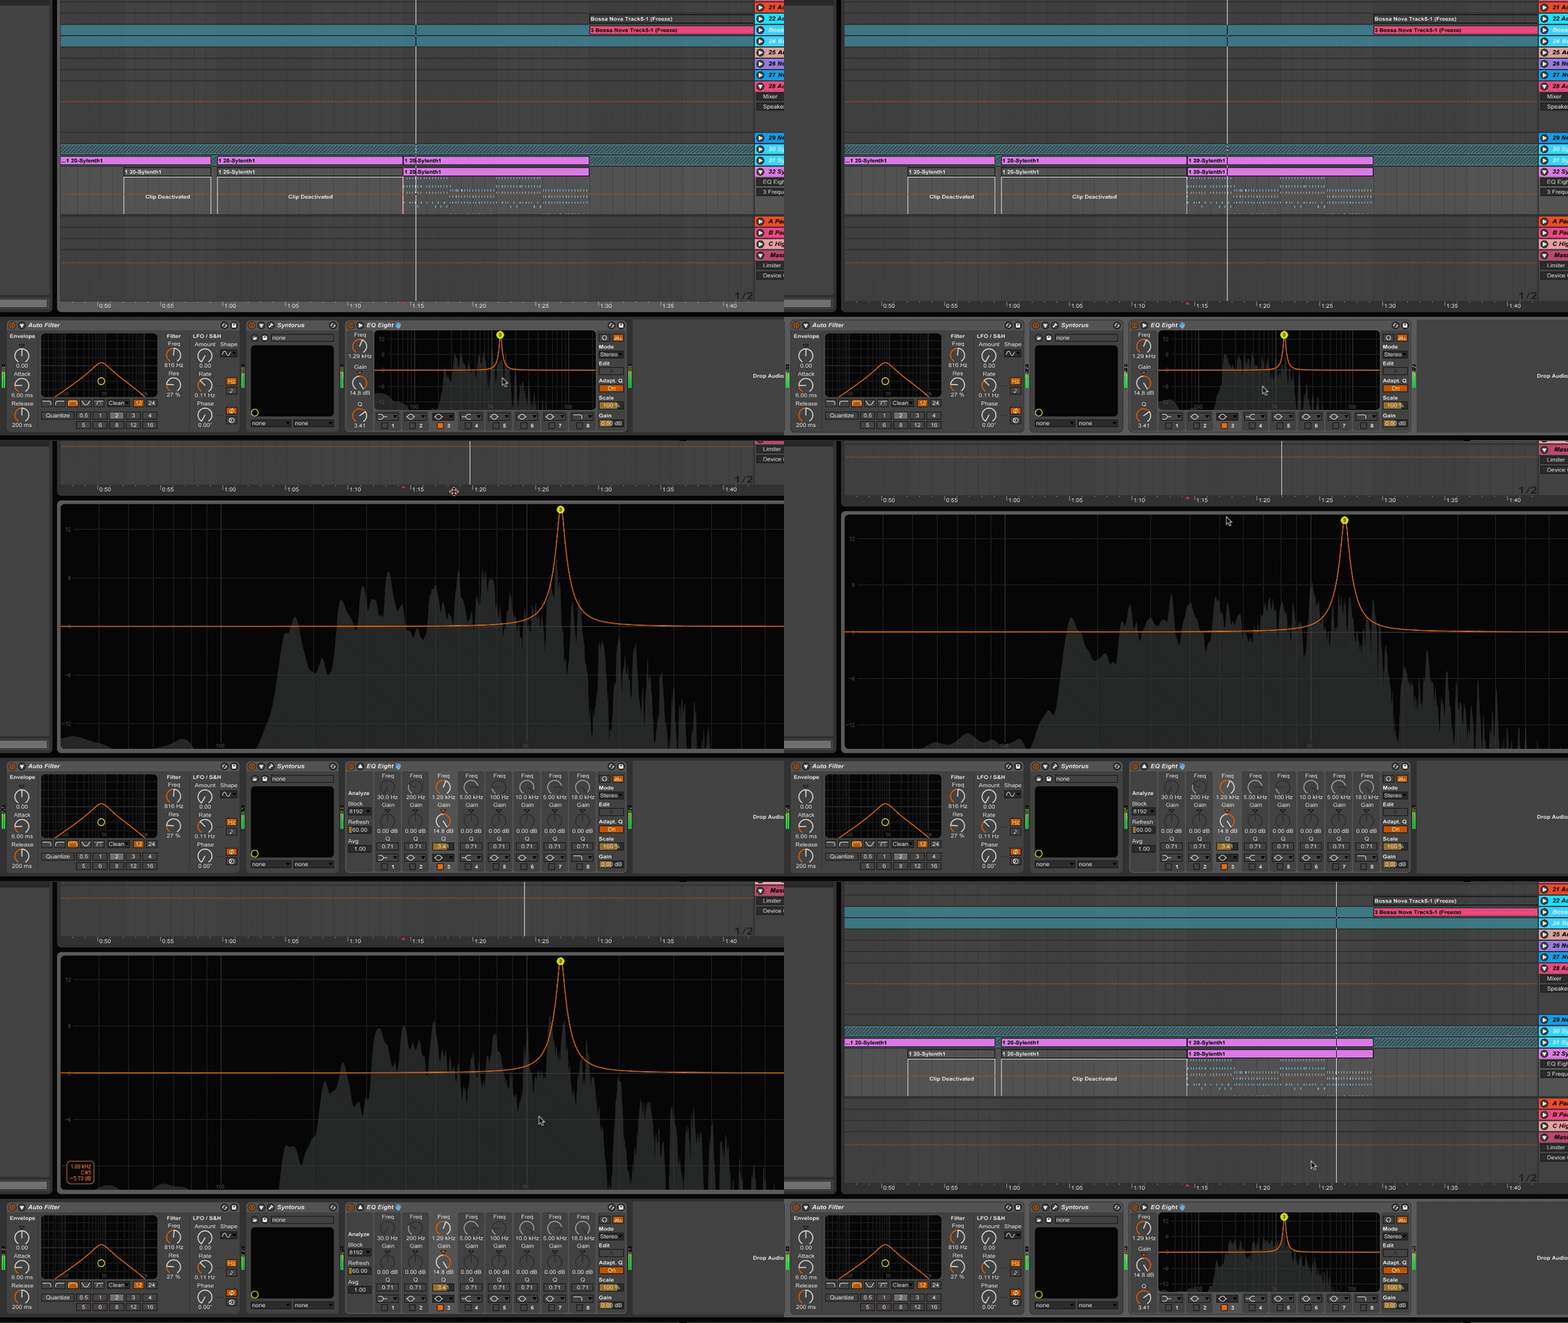
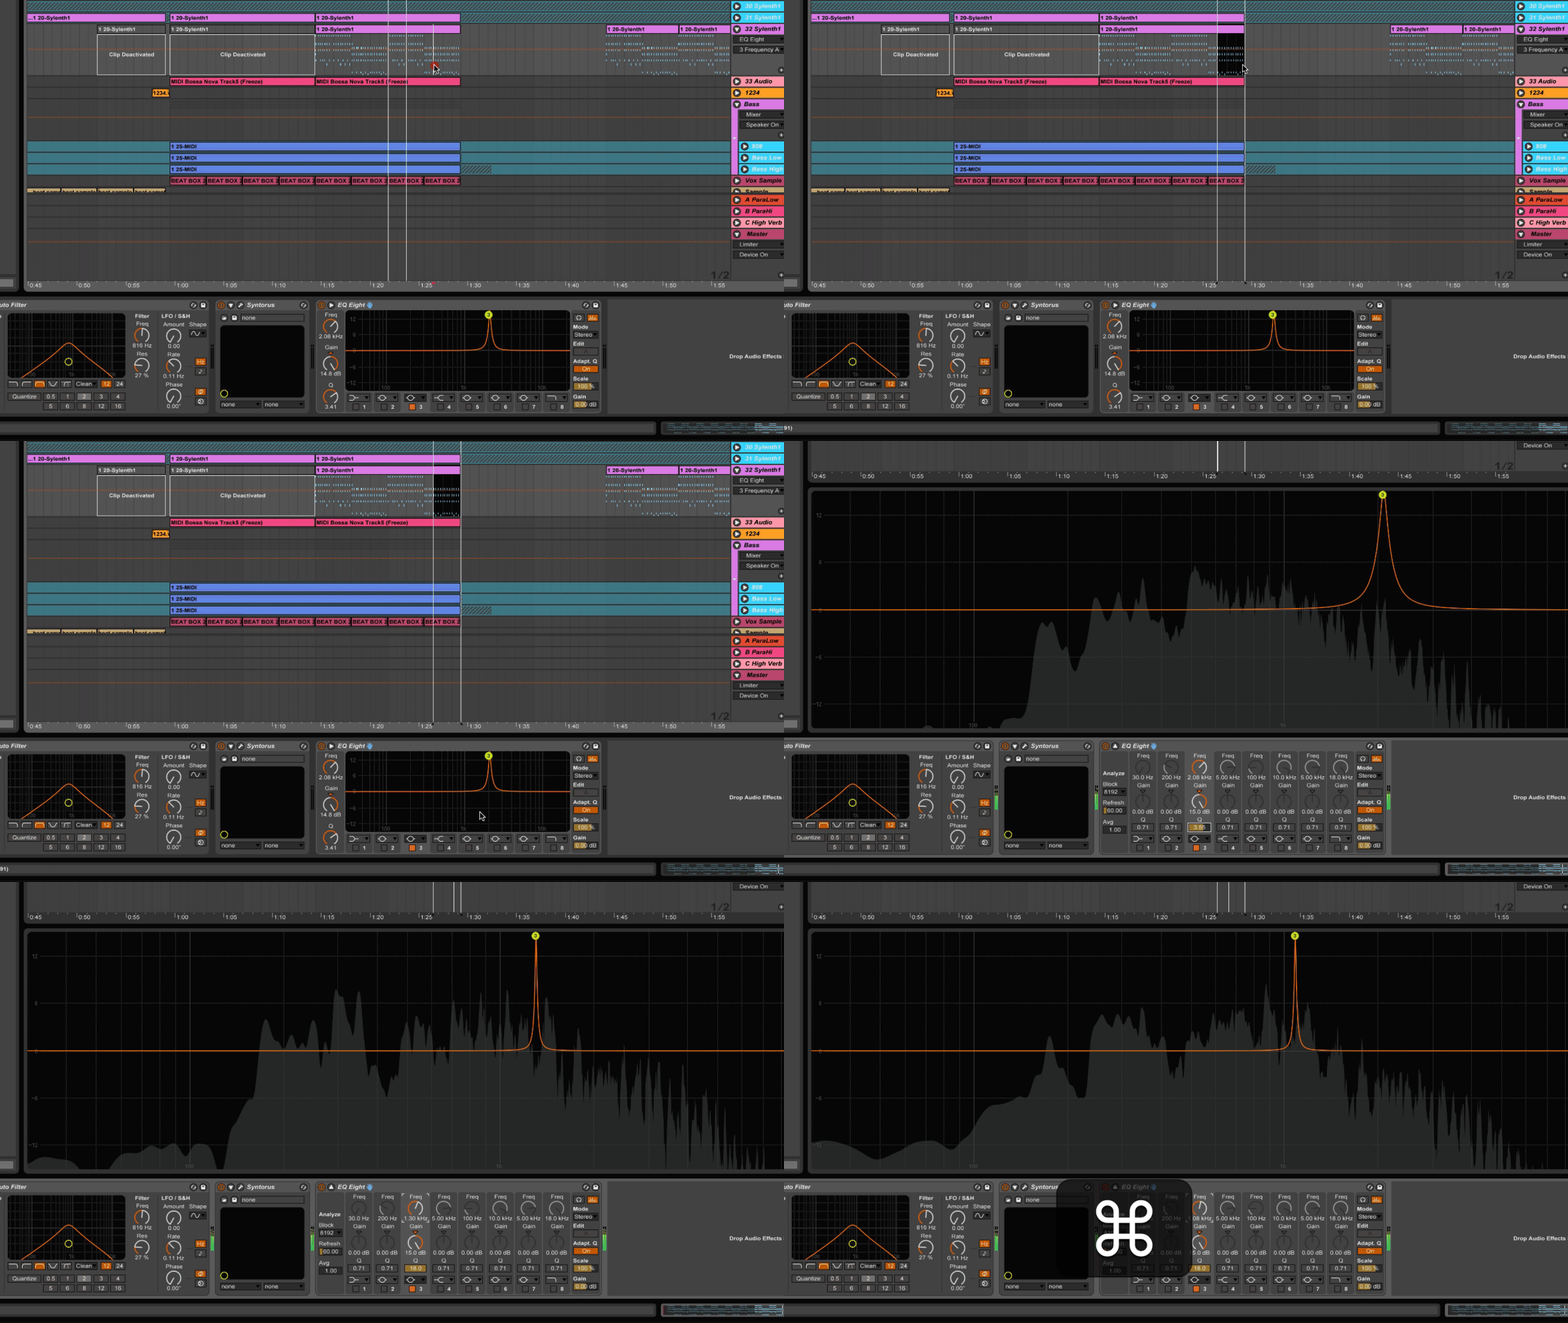
Notch Filtering is a EQ technique that can really help you pinpoint trouble frequencies in your songs. It is easiest to employ when using an EQ that has a spectrogram incorporated into the display. Thankfully Ableton's EQ Eight offers this feature, which can also be expanded by double clicking on the window...
This is a HUGE help when trying to pinpoint resonating frequencies in your sounds.
The trick is to start with a very high gain and Q factor (or narrow stop band) and sweep the frequencies slowly, listening for any piercing or uncomfortable areas. Your ears will let you know. If you are noticing something nasty in a very specific part of the sound just loop the trouble area to narrow in your search!
****Make sure to turn your monitors down during this process or you could damage your ears and speakers!
Once you find the trouble frequencies notch them out by turning down the gain. Be mindful that you only take away enough to get rid of the problem. You don't want to steal too much character from the sound by automatically attenuating the filter by -15dB. Play around with the gain to find a sweet spot. Repeat this process until you've freed your sound from all it's nasty painful frequencies. Once you've completed this process you will be free to compress and gain up your sound without making your fans ears bleed!
-TG


